Post-tension slab in Austin: why the cables are there
Concrete is strong in compression and weak in tension. On ground that heaves and shrinks, a slab gets bent, and the bent side pulls apart. A post-tension slab answers that by putting the whole slab into compression before the ground ever moves it. The Post-Tensioning Institute says the method reduces cracking, keeps cracks that do form tight, can reduce or eliminate control joints, and uses less concrete and steel for the same structural capacity.
That matters in Austin because of the clay. The USDA's description of Houston Black, the Texas state soil, lists cracks up to 4 inches wide and slickensides, the polished shear faces that form when clay swells against itself. A post-tension slab is one of the two engineered answers; the other is a conventional slab foundation with deeper beams and more rebar.

Post-tension vs conventional rebar slab
| Post-tension slab | Conventional rebar slab | |
|---|---|---|
| How it resists bending | Tendons stressed after the pour compress the slab | Rebar picks up tension once the concrete cracks |
| Cracking | Fewer, tighter cracks (PTI) | Controlled with joints every 24 to 36 x thickness (NRMCA) |
| Control joints | Can be reduced or eliminated (PTI) | Needed |
| Materials | Less concrete and steel for the same capacity (PTI) | More steel, often deeper beams |
| Design standard | PTI DC10.5 (referenced by the 2024 IRC) | Engineer's design; IBC 1808.6 on expansive soil |
| Later changes | Scan before any drilling or cutting | Easier to cut or core |
Swipe the table sideways to see every column →
How a post-tension slab is built
- 1Engineered tendon layout
The engineer's plan shows every tendon, its spacing in each direction, the beam layout and the stressing ends. Residential post-tension design follows the Post-Tensioning Institute's slab-on-ground standard.
- 2Beams, base and vapor retarder
Perimeter and interior beams are dug, the base is placed and the vapor retarder goes down, just as on any house slab.
- 3Tendons and anchors
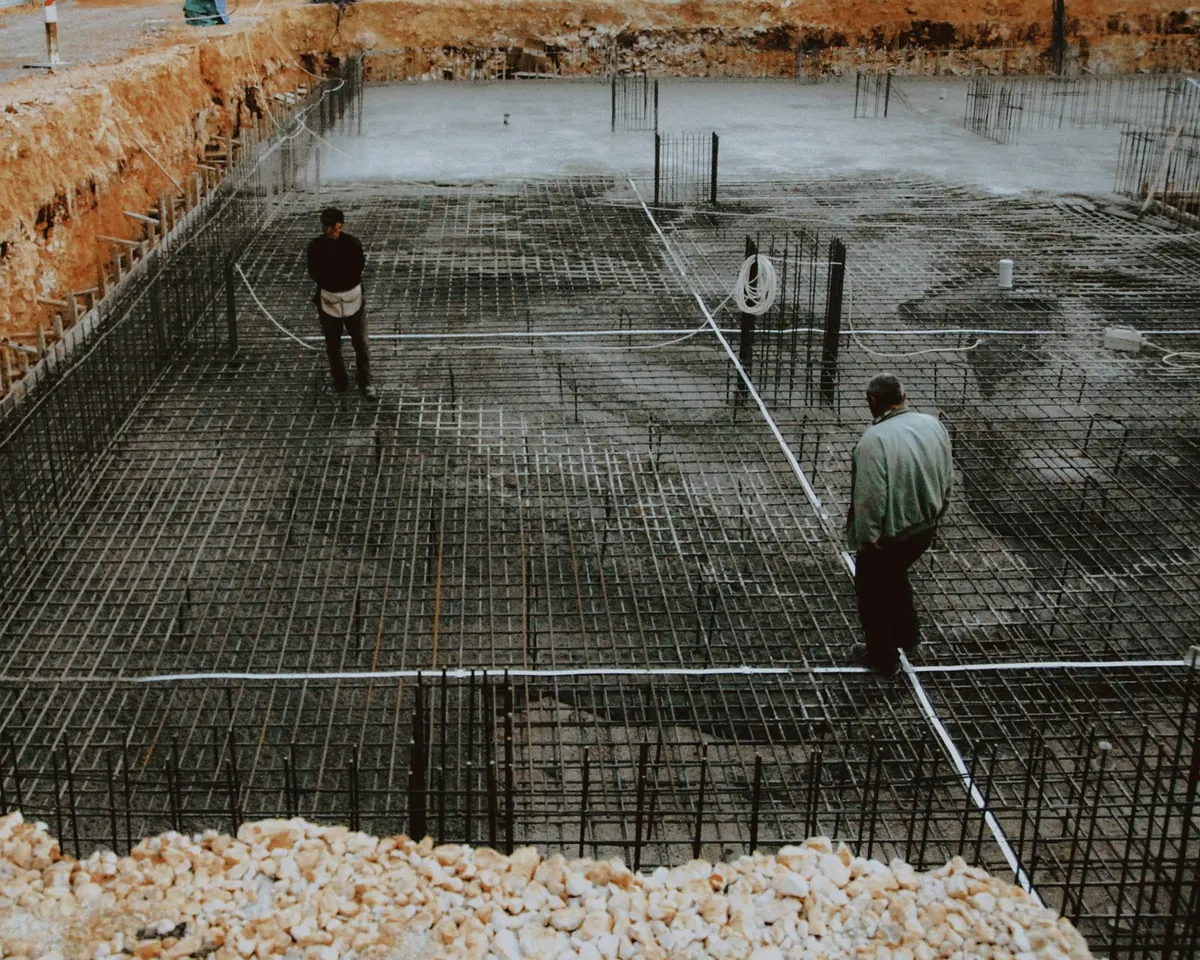
Sheathed tendons are laid out and supported at the heights on the plan, with anchors fixed at the slab edges and any added rebar at beams and corners.
- 4Inspection and pour
The tendon layout is inspected, then the slab is poured, consolidated around the anchors and finished.
- 5Stressing
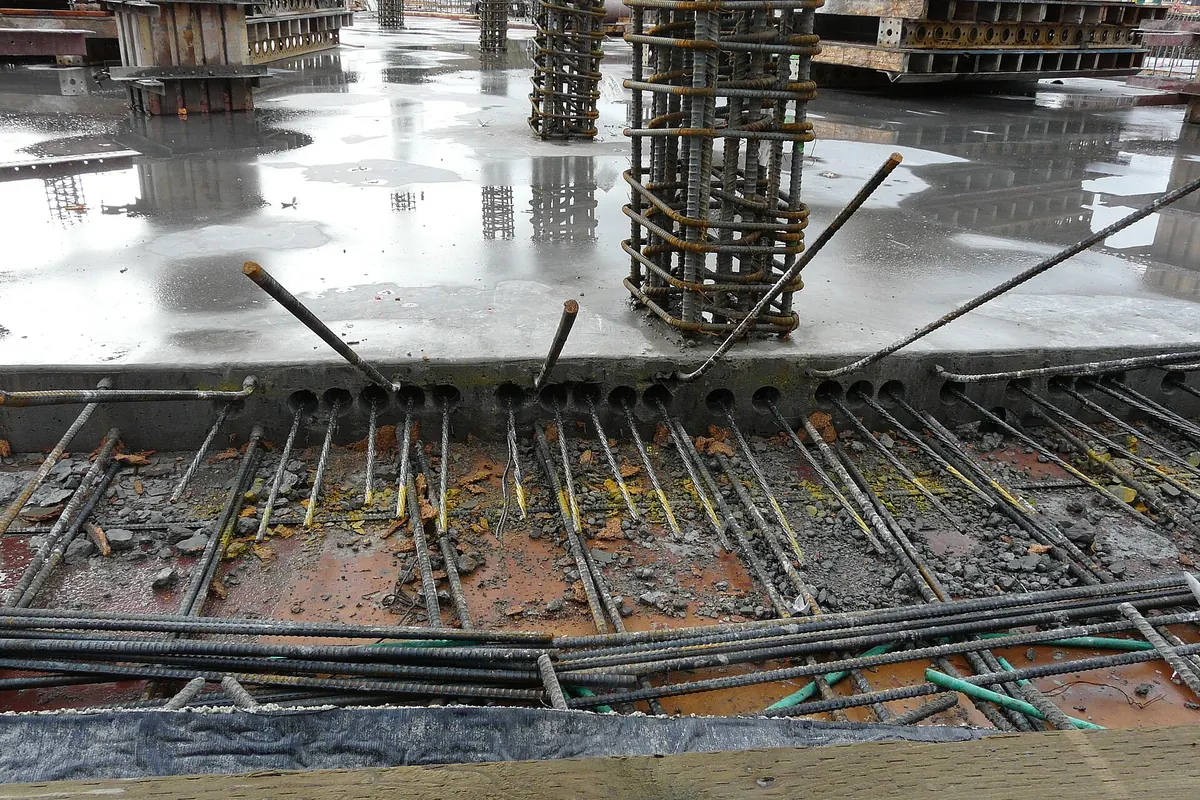
Once the concrete reaches the strength the plan calls for, each tendon is pulled with a hydraulic jack to its specified force and locked off.
- 6Cut and seal the tails
Excess tendon is cut off at the slab edge and the pocket is patched so moisture can't reach the anchor.
Living with a post-tension slab
Drilling, coring and saw-cutting
The one rule owners need to know: locate the tendons before cutting into the slab. A tendon is stressed steel, and cutting one releases that force at once and weakens the slab around it. Before anchoring a lift, adding a floor drain or cutting a trench for plumbing, get the tendon layout from the plans or have the slab scanned with ground-penetrating radar.
Drainage around the slab
A post-tension slab still depends on steady moisture under it. The residential code wants the ground to fall at least 6 inches in the first 10 feet away from the house and paved surfaces within 10 feet to slope 2 percent away (IRC R401.3). Gutters and downspouts that dump next to the slab work against all of it.
- Keep the tendon layout drawing with the house documents
- Scan before anchoring lifts, safes or racking
- Watch for rust stains or cracks at the tendon pockets along the slab edge
- Keep grading and gutters moving water away from the slab
- Call the engineer, not a handyman, about a damaged tendon